Estimated reading time: 3 minutes
Color grading is the process of adjusting the colors of a video to create a specific look or feel. Adobe Premiere Pro is a popular video editing software that also has powerful color grading tools. If you’re new to color grading and want to get started using Premiere Pro, here’s a quick guide to help you get started.
- Import your footage
The first step is to import your footage into Premiere Pro. You can do this by going to File > Import, or by dragging and dropping the footage into the project panel. Once your footage is imported, you can begin to color grade it.
- Create a new adjustment layer
To color grade your footage, you’ll need to create a new adjustment layer. An adjustment layer is a layer that you can apply color grading adjustments to, which will affect all the layers underneath it. To create a new adjustment layer, go to the project panel and right-click, then select New > Adjustment Layer.
- Apply color grading adjustments
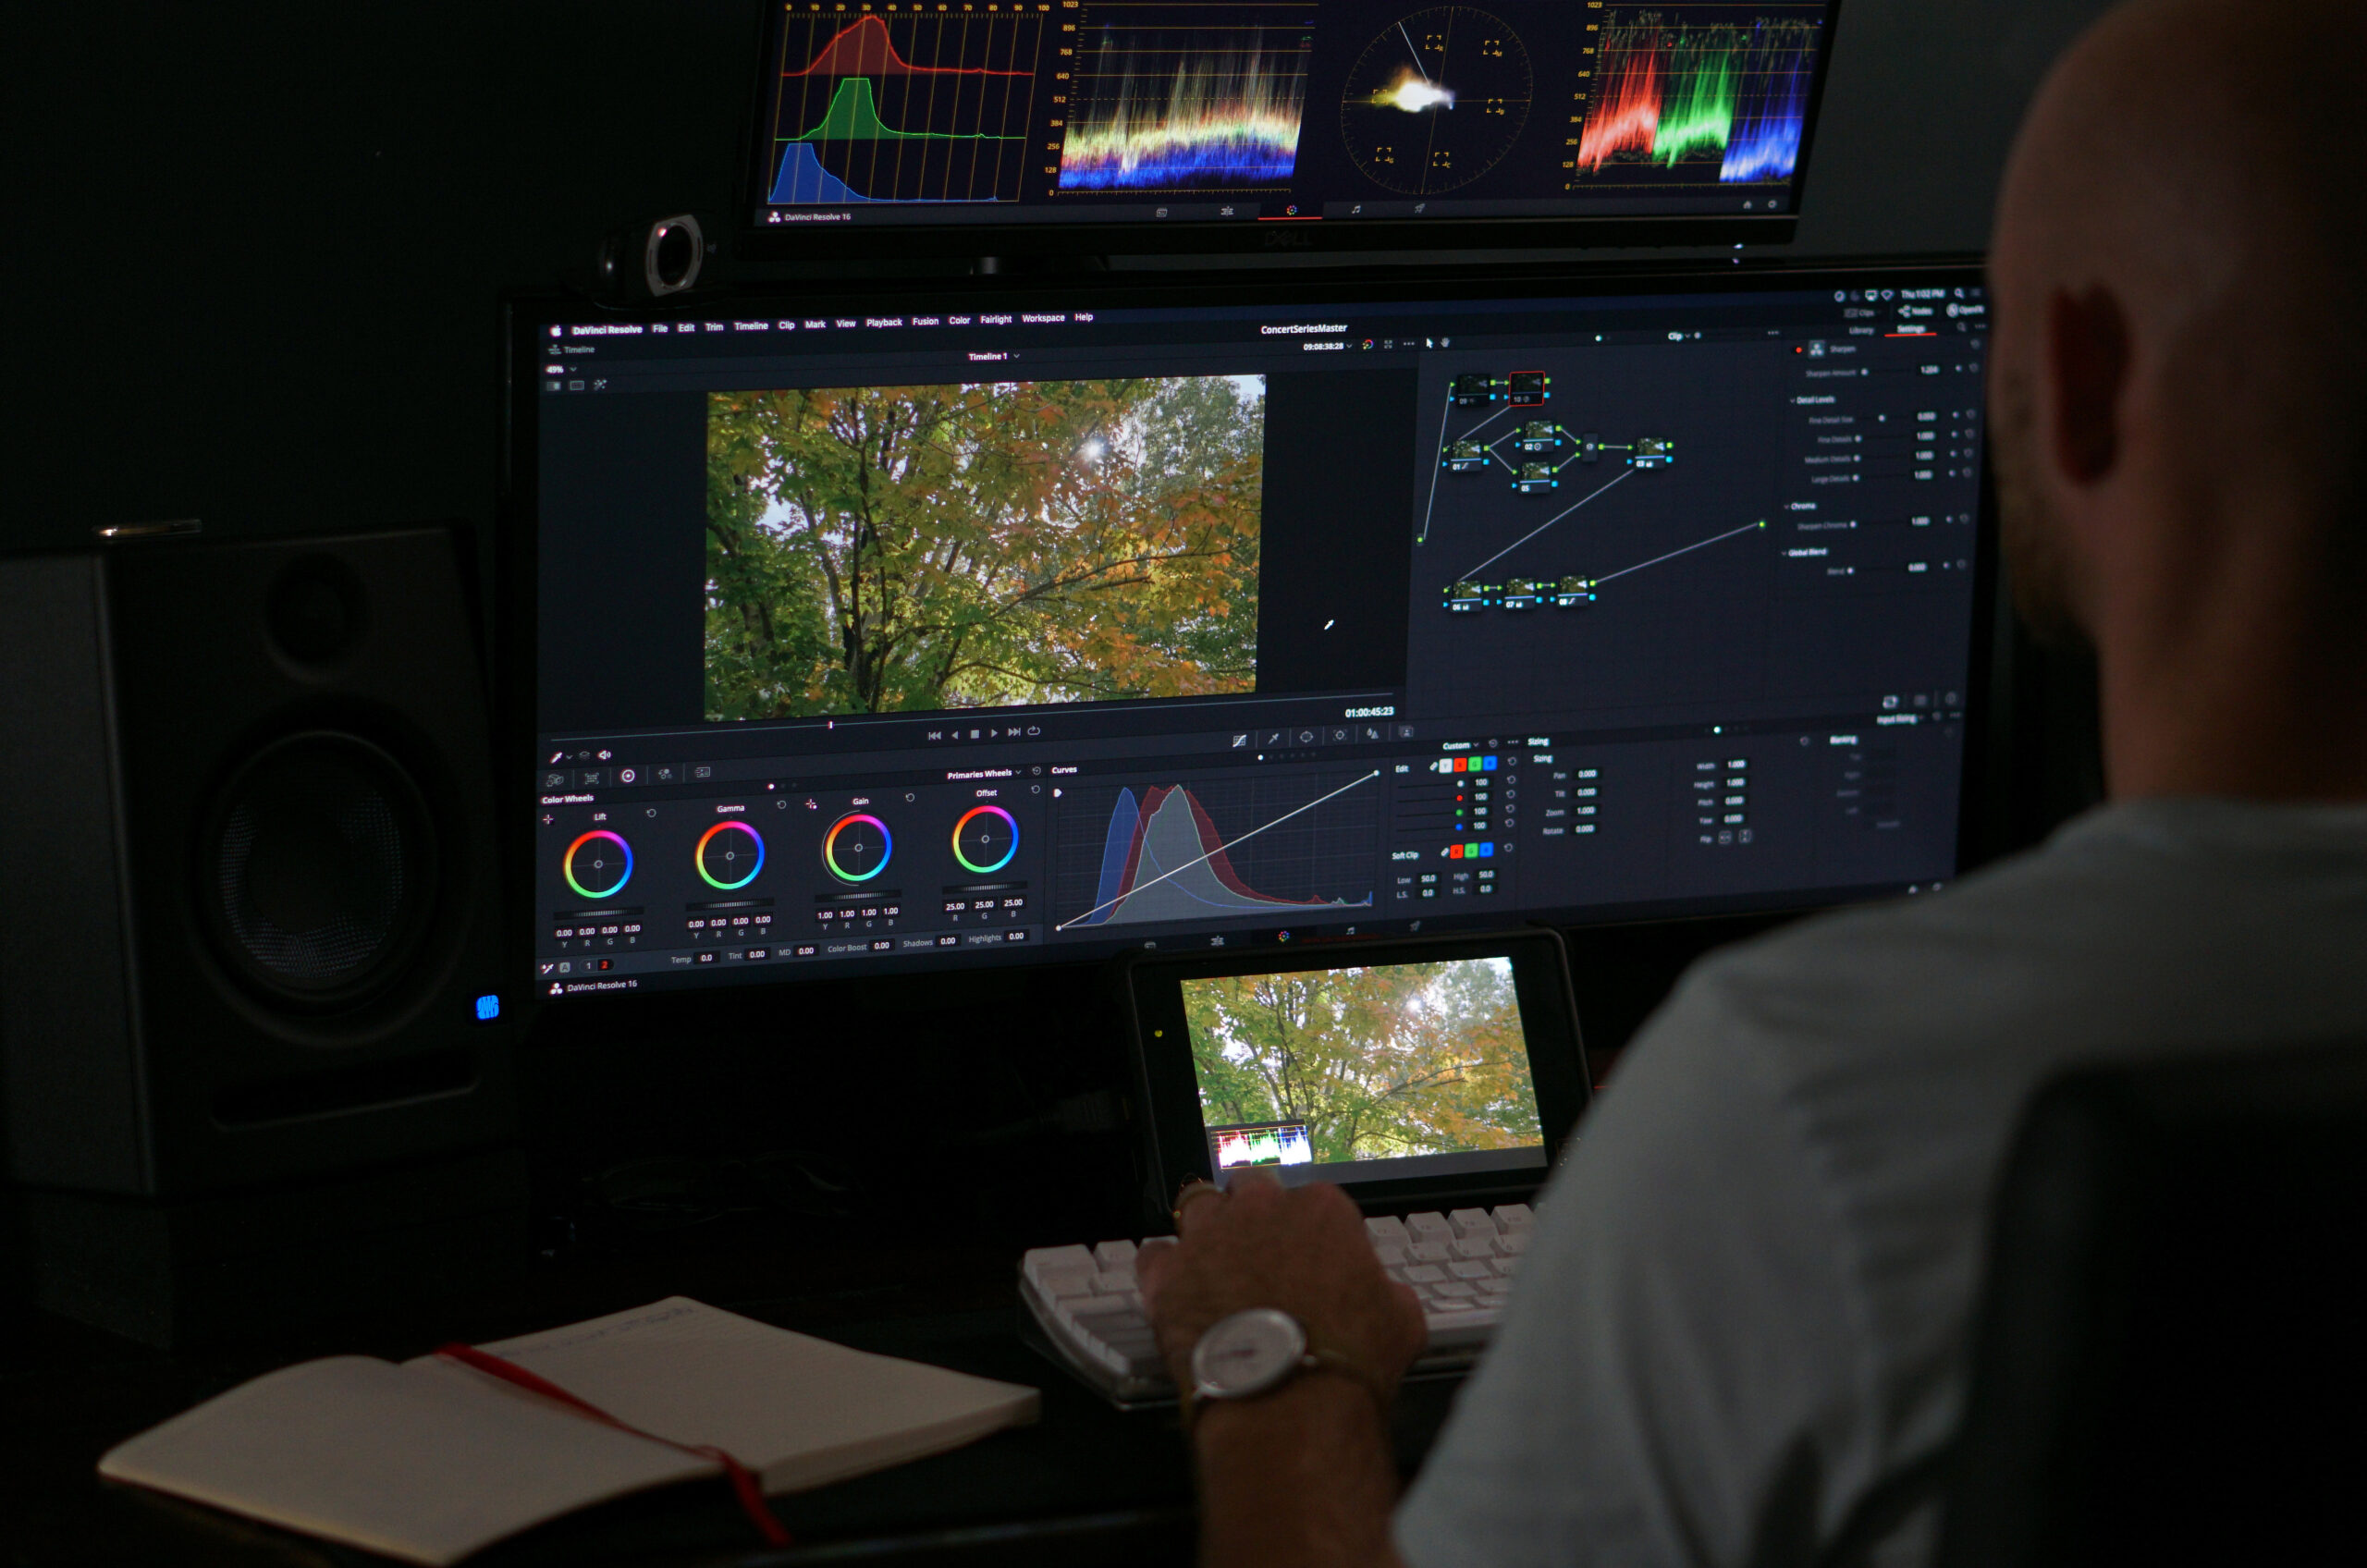
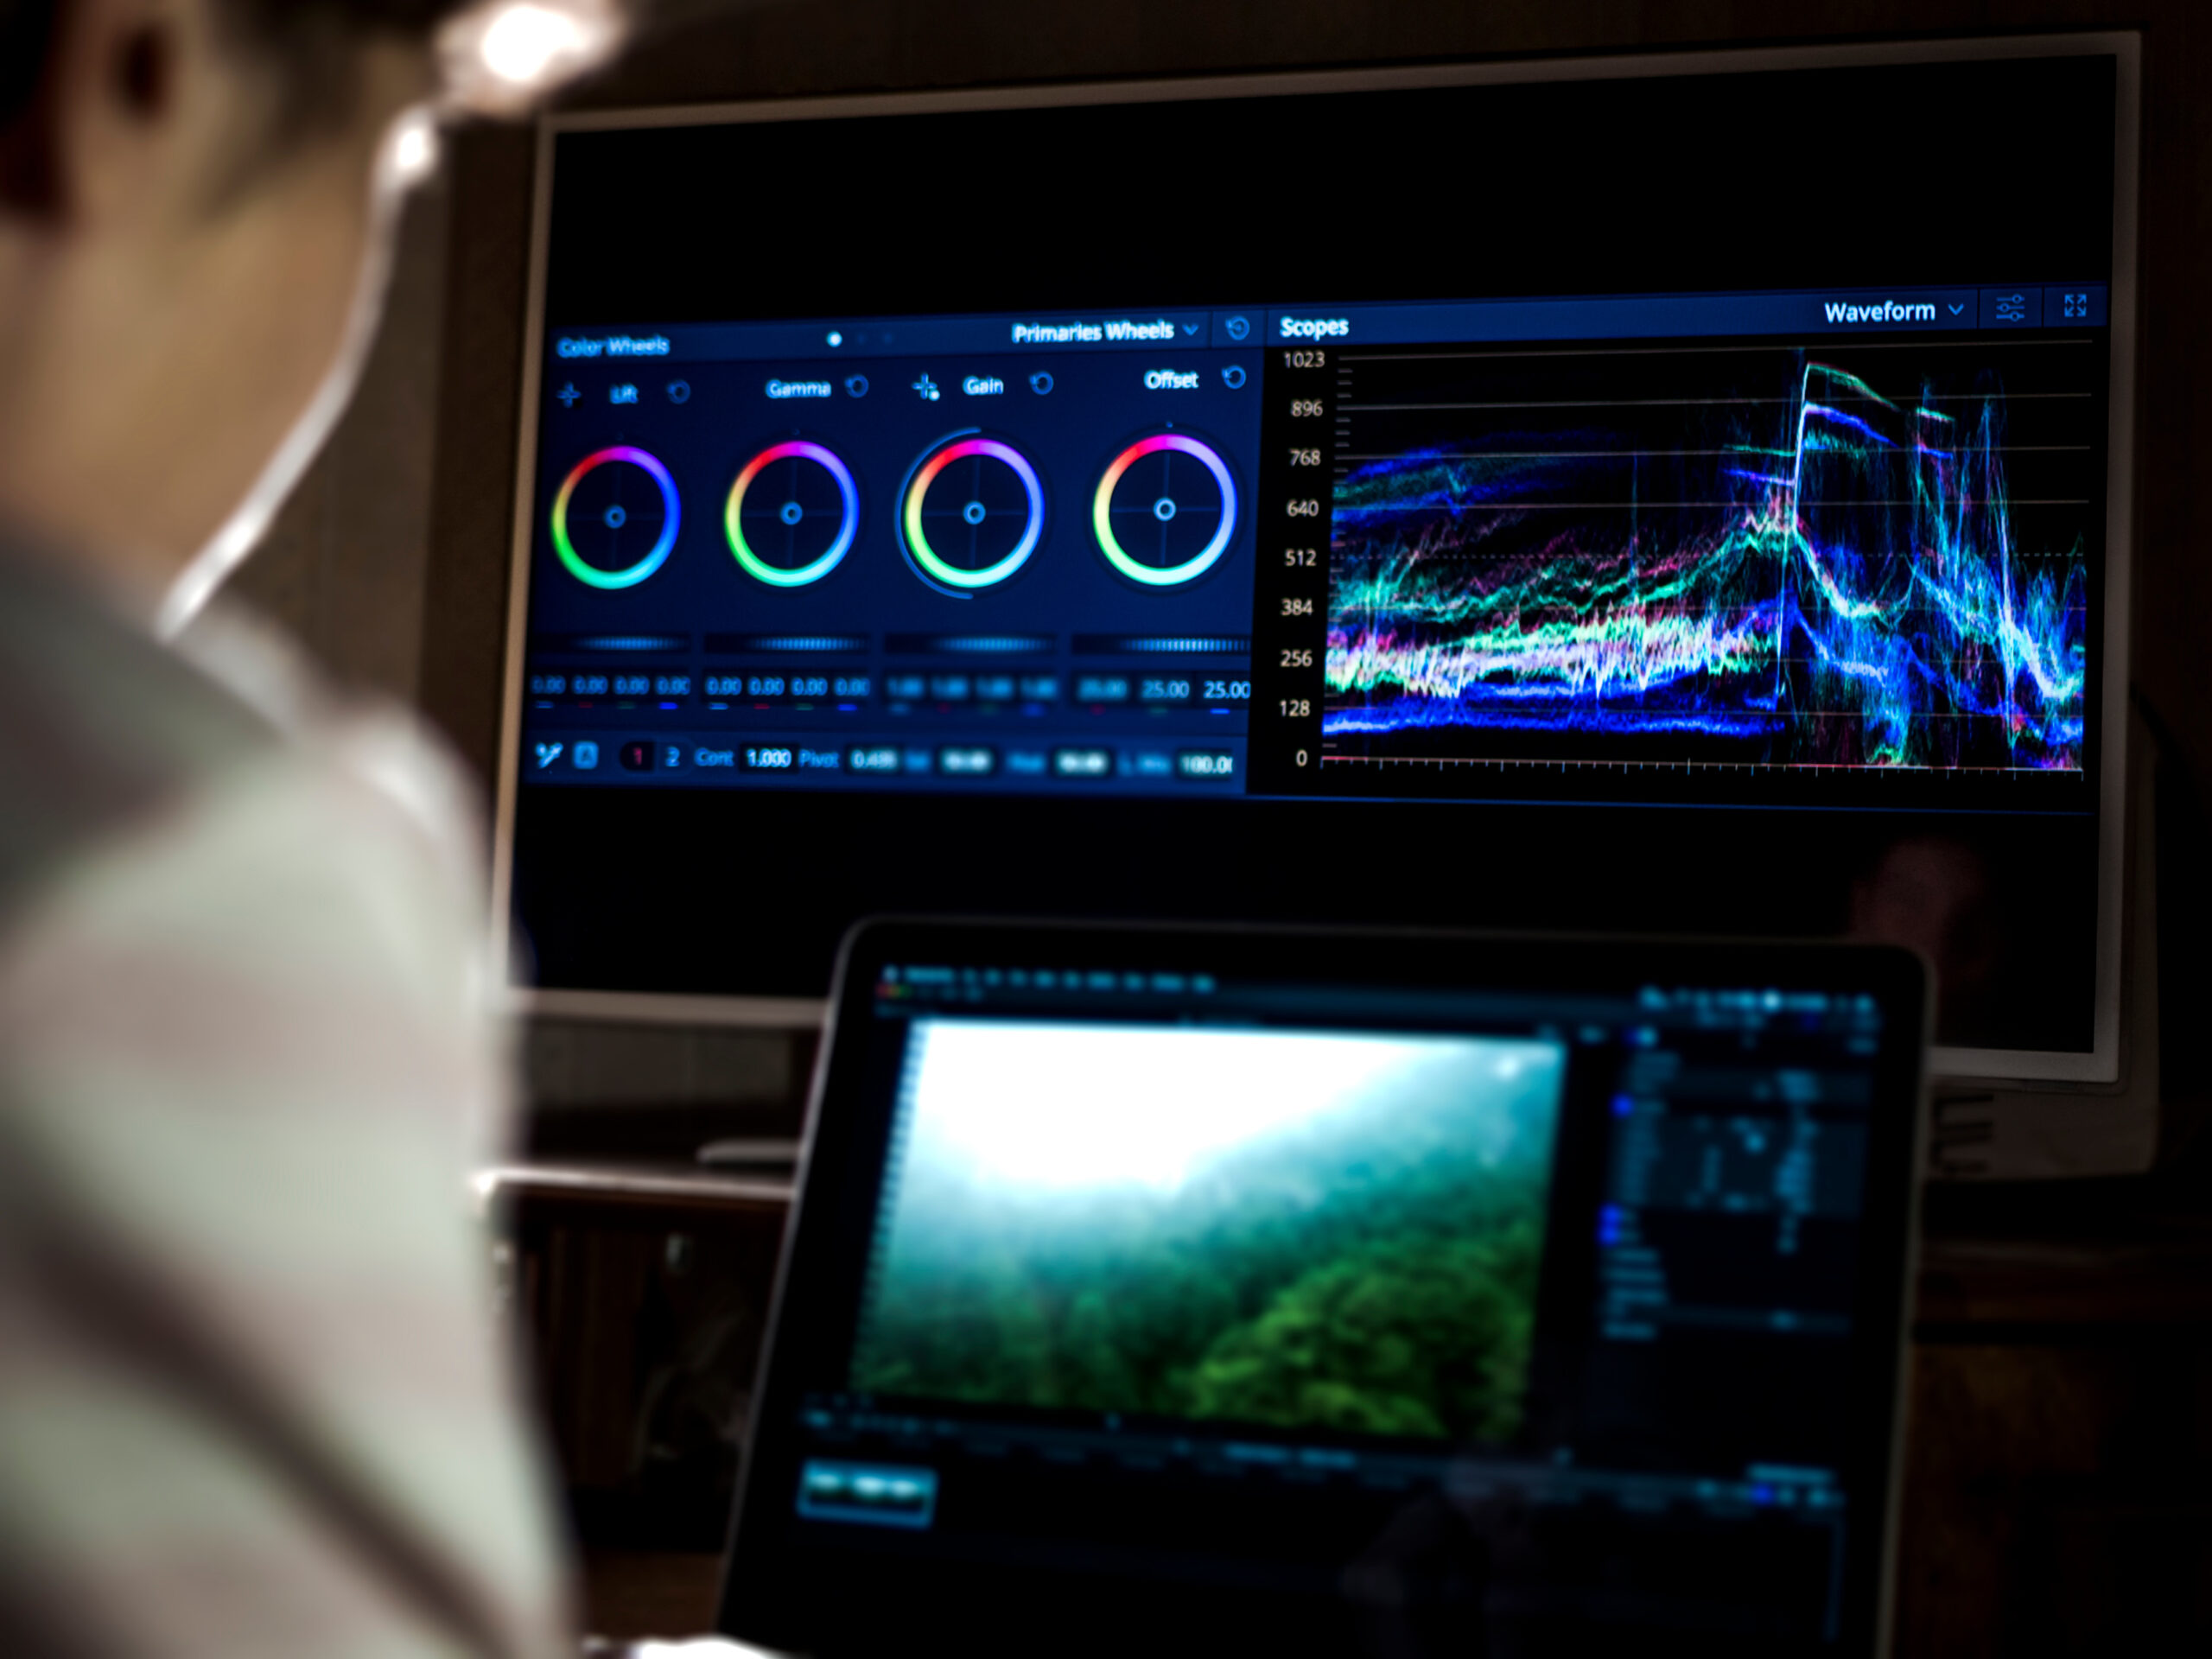
With your new adjustment layer created, you can begin to apply color grading adjustments to your footage. Adobe Premiere Pro has a variety of color grading tools that you can use, such as the color wheel, the curves tool, and the color balance tool. These tools allow you to adjust the hue, saturation, and luminance of your footage to achieve the desired look.
- Use LUTs
Another powerful tool that you can use in Premiere Pro is LUTs (Lookup Tables). LUTs are preset color grading adjustments that you can apply to your footage. You can find a variety of LUTs online that are designed for different types of footage, such as cinematic LUTs, vintage LUTs, and more.
- Adjust the color of specific objects
Premiere Pro also allows you to adjust the color of specific objects in your footage. This can be done using the selective color correction tool, which allows you to isolate and adjust the colors of specific objects in your footage. This can be useful when you want to make a specific object stand out or blend in more with the rest of the scene.
- Preview and export
Finally, when you are happy with your color grading, preview your video and export it.
Color grading can take some practice to master, but with the tools and techniques outlined above, you’ll be able to achieve professional-looking results using Adobe Premiere Pro.